We have created the efs file system and ec2 instances one in mumbai as follows


for the ec2 instance security groups we have added the nfs with custom

[ec2-user@ip-172-31-45-247 ~]$ sudo yum update -y
Last metadata expiration check: 0:03:52 ago on Sun Dec 24 06:24:42 2023.
Dependencies resolved.
Nothing to do.
Complete!
[ec2-user@ip-172-31-45-247 ~]$
[ec2-user@ip-172-31-45-247 ~]$
[ec2-user@ip-172-31-45-247 ~]$ sudo yum -y install amazon-efs-utils
Last metadata expiration check: 0:41:10 ago on Sun Dec 24 06:24:42 2023.
Dependencies resolved.
Package Arch Version Repository Size
Installing:
amazon-efs-utils noarch 1.35.0-1.amzn2023 amazonlinux 56 k
Installing dependencies:
stunnel x86_64 5.58-1.amzn2023.0.2 amazonlinux 156 k
Transaction Summary
Install 2 Packages
Total download size: 212 k
Installed size: 556 k
Downloading Packages:
(1/2): amazon-efs-utils-1.35.0-1.amzn2023.noarc 974 kB/s | 56 kB 00:00
(2/2): stunnel-5.58-1.amzn2023.0.2.x86_64.rpm 1.8 MB/s | 156 kB 00:00
Total 1.4 MB/s | 212 kB 00:00
Running transaction check
Transaction check succeeded.
Running transaction test
Transaction test succeeded.
Running transaction
Preparing : 1/1
Installing : stunnel-5.58-1.amzn2023.0.2.x86_64 1/2
Running scriptlet: stunnel-5.58-1.amzn2023.0.2.x86_64 1/2
Installing : amazon-efs-utils-1.35.0-1.amzn2023.noarch 2/2
Running scriptlet: amazon-efs-utils-1.35.0-1.amzn2023.noarch 2/2
Verifying : stunnel-5.58-1.amzn2023.0.2.x86_64 1/2
Verifying : amazon-efs-utils-1.35.0-1.amzn2023.noarch 2/2
Installed:
amazon-efs-utils-1.35.0-1.amzn2023.noarch stunnel-5.58-1.amzn2023.0.2.x86_64
Complete!
[ec2-user@ip-172-31-45-247 ~]$
[ec2-user@ip-172-31-45-247 ~]$ sudo mount -t efs fs-0533d56ec603fb7d4:/ ~/efs-mum
[ec2-user@ip-172-31-45-247 ~]$ df -Th /home/ec2-user/efs-mum
Filesystem Type Size Used Avail Use% Mounted on
fs-0533d56ec603fb7d4.efs.ap-south-1.amazonaws.com:/ nfs4 8.0E 0 8.0E 0% /home/ec2-user/efs-mum
[ec2-user@ip-172-31-45-247 ~]$
- Build the new vm with latest os in the same ESxi cluster –> This is useful in case of domain join issues post the hostname and ip address swap
- Take a snapshot for the original vm
- perform the hostname and ip address swap
- Rename the vms post the hostname and ip address swap in the os level
- Peform the storage vmotion of the newly built vm to reflect vmdk names
- We need to remove the snapshot in case we are detaching data disks from old vms and attaching to new vm.—> better to do this in the end because while joining the domain with new vm there could be some issues can encounter so remove the snapshot only after validating the new vm joins the domain.
while performing the netapp volume to vcenter vms we were getting the following error

volume details:
Policy Rule Access Client RO
Vserver Name Index Protocol Match Rule
———— ————— —— ——– ——————— ———
xxxxx32 jumpcluster 1 nfs3, nfs4 xxx.xxx.xxx.xx sys
xxxxxx32 jumpcluster 2 nfs3,nfs4 xxx.xxx.xxx.xx sys
xxxxxx32 jumpcluster 3 nfs3,nfs 4 xxx.xxx.xxx.xx sys
xxxxxx32 jumpcluster 4 nfs3,nfs 4 xxx.xxx.xxx.xx sys
so the xxx represent the ip address.
Resolution:
we have found that the ip address which is showing the exports is missing in the vserver storage policy from the netapp end and so post editing the policy with ip address , we are able to mount the netapp volume as nfs data store on the vsphere servers.


by choosing the deploy the agent we will be able to download the agent
so now we need to deploy it on the vmware as new vm

post the installation it will be something like this

here I am checking the routing configuration


created and associated the IAM role for kafka and attahched to ec2 instance.
[ec2-user@ip- ~]$ aws kafka list-clusters –region us-east-1
{
“ClusterInfoList”: [
{
“BrokerNodeGroupInfo”: {
“BrokerAZDistribution”: “DEFAULT”,
“ClientSubnets”: [
“subnet-0a5fa95fde3b23d78”,
“subnet-041662d0ab1f4f542”,
“subnet-09bcca5d80da5810e”
],
“InstanceType”: “kafka.m5.large”,
“SecurityGroups”: [
“sg-0d34c065d59ba314a”
],
“StorageInfo”: {
“EbsStorageInfo”: {
“VolumeSize”: 1000
}
},
“ConnectivityInfo”: {
“PublicAccess”: {
“Type”: “DISABLED”
}
}
},
“ClientAuthentication”: {
“Sasl”: {
“Scram”: {
“Enabled”: false
},
“Iam”: {
“Enabled”: true
}
},
“Tls”: {
“CertificateAuthorityArnList”: [],
“Enabled”: false
},
“Unauthenticated”: {
“Enabled”: false
}
},
“ClusterArn”: “arn:aws:kafka:us-east-1:625139144562:cluster/demo-cluster-1/59b542ad-f2e3-40e1-95d0-2cf21672cf0f-9”,
“ClusterName”: “demo-cluster-1”,
“CreationTime”: “2023-09-19T08:25:57.926000+00:00”,
“CurrentBrokerSoftwareInfo”: {
“KafkaVersion”: “2.8.1”
},
“CurrentVersion”: “K3P5ROKL5A1OLE”,
“EncryptionInfo”: {
“EncryptionAtRest”: {
“DataVolumeKMSKeyId”: “arn:aws:kms:us-east-1:625139144562:key/6d9e5b09-3eb4-4b0f-8c4c-98a97f0f14da”
},
“EncryptionInTransit”: {
“ClientBroker”: “TLS”,
“InCluster”: true
}
},
“EnhancedMonitoring”: “DEFAULT”,
“OpenMonitoring”: {
“Prometheus”: {
“JmxExporter”: {
“EnabledInBroker”: false
},
“NodeExporter”: {
“EnabledInBroker”: false
}
}
},
“NumberOfBrokerNodes”: 3,
“State”: “ACTIVE”,
“Tags”: {},
“ZookeeperConnectString”: “z-1.democluster1.u8m2n5.c9.kafka.us-east-1.amazonaws.com:2181,z-2.democluster1.u8m2n5.c9.kafka.us-east-1.amazonaws.com:2181,z-3.democluster1.u8m2n5.c9.kafka.us-east-1.amazonaws.com:2181”,
“ZookeeperConnectStringTls”: “z-1.democluster1.u8m2n5.c9.kafka.us-east-1.amazonaws.com:2182,z-2.democluster1.u8m2n5.c9.kafka.us-east-1.amazonaws.com:2182,z-3.democluster1.u8m2n5.c9.kafka.us-east-1.amazonaws.com:2182”,
“StorageMode”: “LOCAL”
}
]
}
[ec2-user@ip- ~]$


Now lets try to connect to data stream as consumer


Now lets create a kinesis data stream producer
created a new ec2 instance by attaching the role which has access to complete kinesis
now lets try posting data to kinesis delivery stream
first let see whether our ec2 has access to kinessis
[ec2-user@ip ~]$ aws kinesis list-streams
{
“StreamNames”: [
“my-first-2023”
],
“StreamSummaries”: [
{
“StreamName”: “my-first-2023”,
“StreamARN”: “arn:aws:kinesis:us-east-1:625139144562:stream/my-first-2023”,
“StreamStatus”: “ACTIVE”,
“StreamModeDetails”: {
“StreamMode”: “PROVISIONED”
},
“StreamCreationTimestamp”: “2023-09-14T09:09:14+00:00”
}
]
}
which proved ec2 has access to kinesis
[ec2-user@ip- ~]$ aws kinesis put-record –stream-name my-first-2023 –partition-key 01 –data testdata
{
“ShardId”: “shardId-000000000002”,
“SequenceNumber”: “49644540247948995003898044298631095824016325594581041186”
}
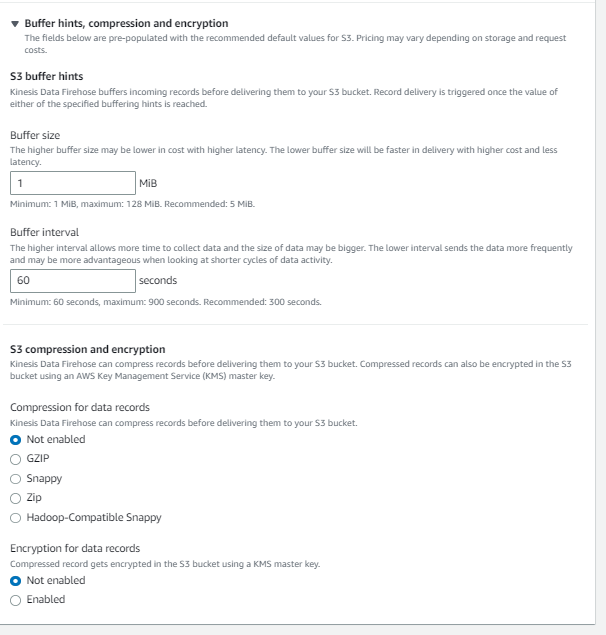
data has updated in the s3 bucket


we have two clusters for accessing first server, we have created .kube directory in the home directory with config file.
from command line, kubectl get nodes has returned the result.
we have saved the config file for second cluster as config-new in the home directory and gave the following command in the cmd
C:\Users\xxxx>kubectl –kubeconfig C:\Users\xxxxx.kube\config-new get nodes
NAME STATUS ROLES AGE VERSION
18sm01 Ready control-plane 183d v1.24.3
18sm02 Ready control-plane 183d v1.24.3
18sm03 Ready control-plane 166d v1.24.3
18sw01 Ready worker 183d v1.24.3
18sw02 Ready worker 183d v1.24.3
18sw03 Ready worker 159d v1.24.3
